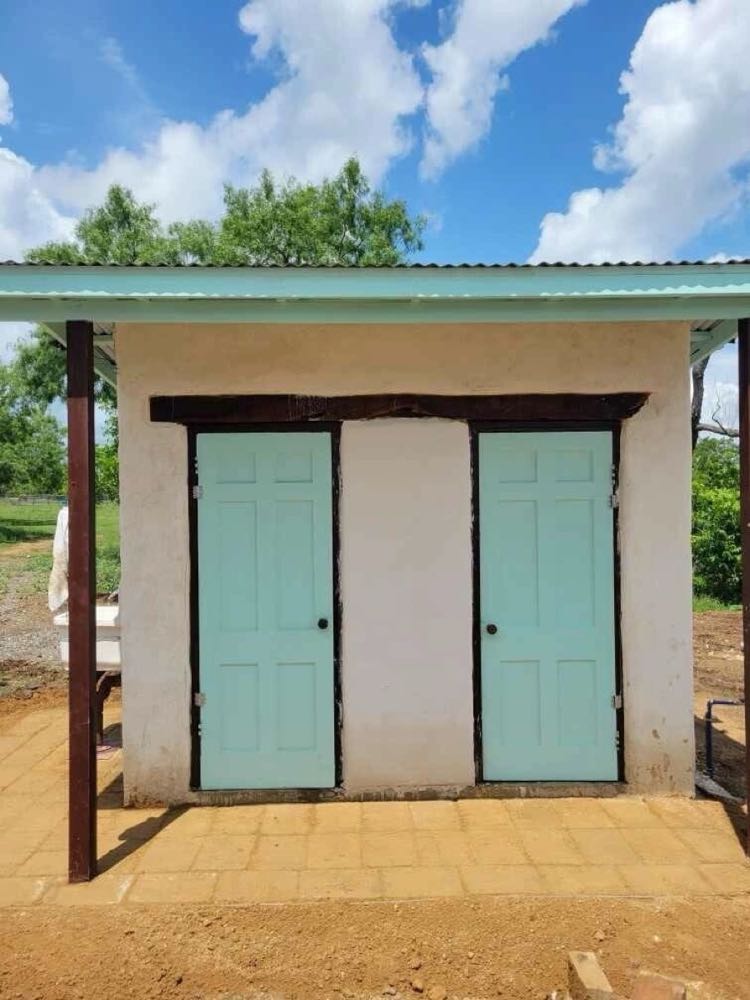
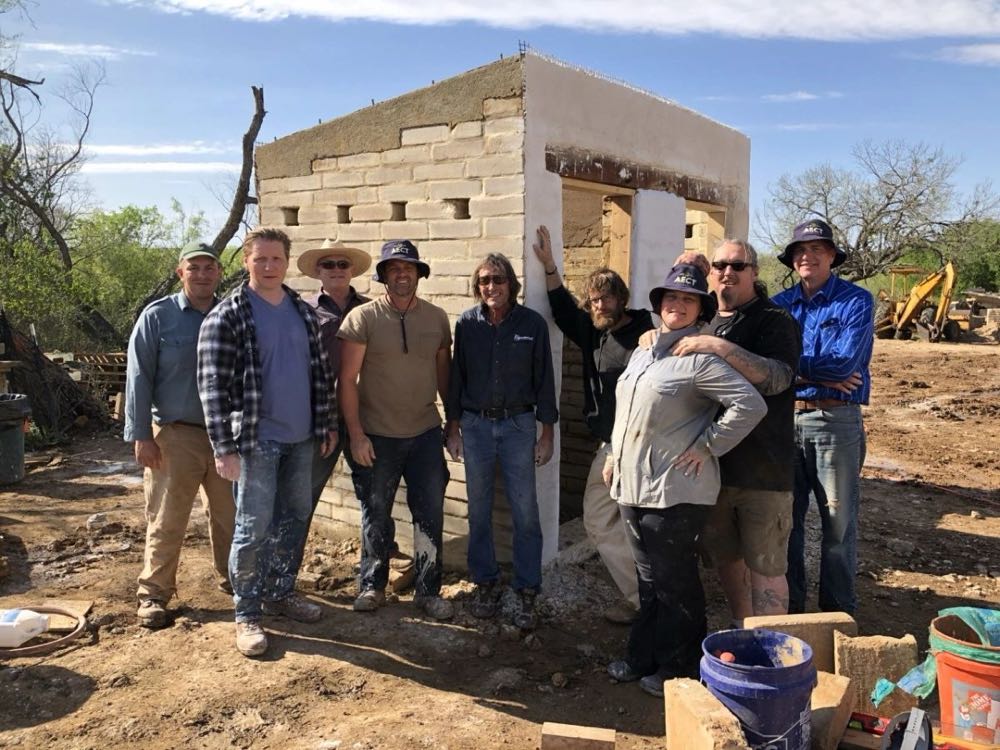
We were delighted to hold a CEB build workshop at our headquarters in San Antonio this spring. This workshop provided a great opportunity to introduce eight earth block enthusiasts to the wonderful world of CEB construction...it was also an opportunity to build a much-needed two-stall bathroom to replace the port-o-pot that we had been renting for four years! ;) The workshop was affectionately called "BABS" (Build a Brick $h!thouse), and to build the walls, we used about 600 of our 10" x 14" x 3.5" TexaTerra Blocks. More about our blocks.
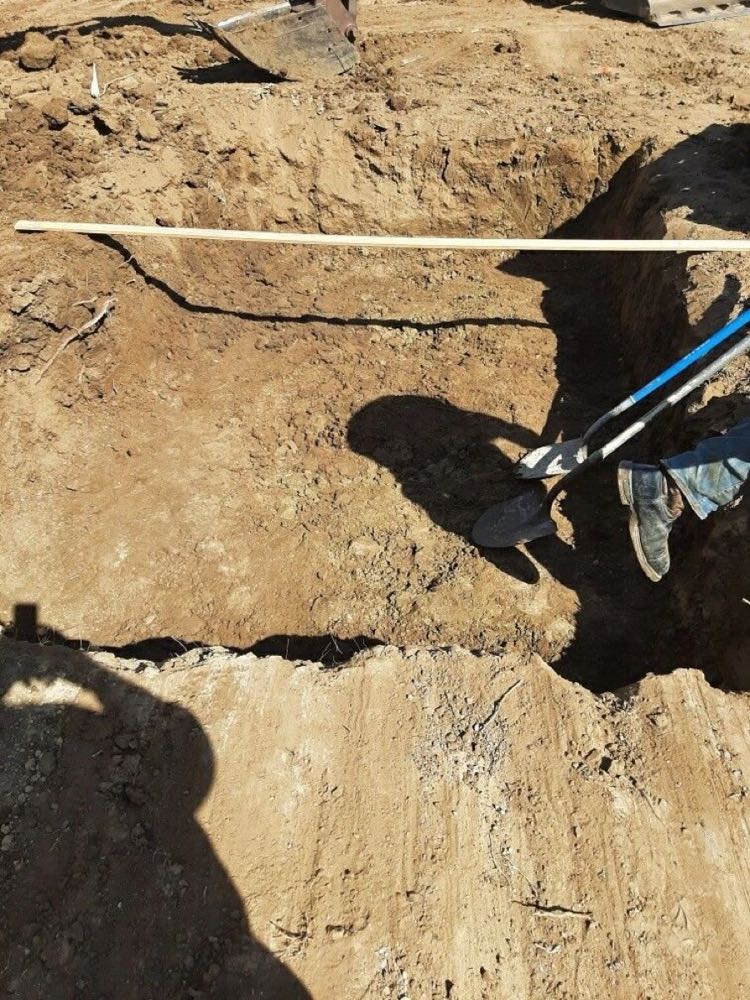
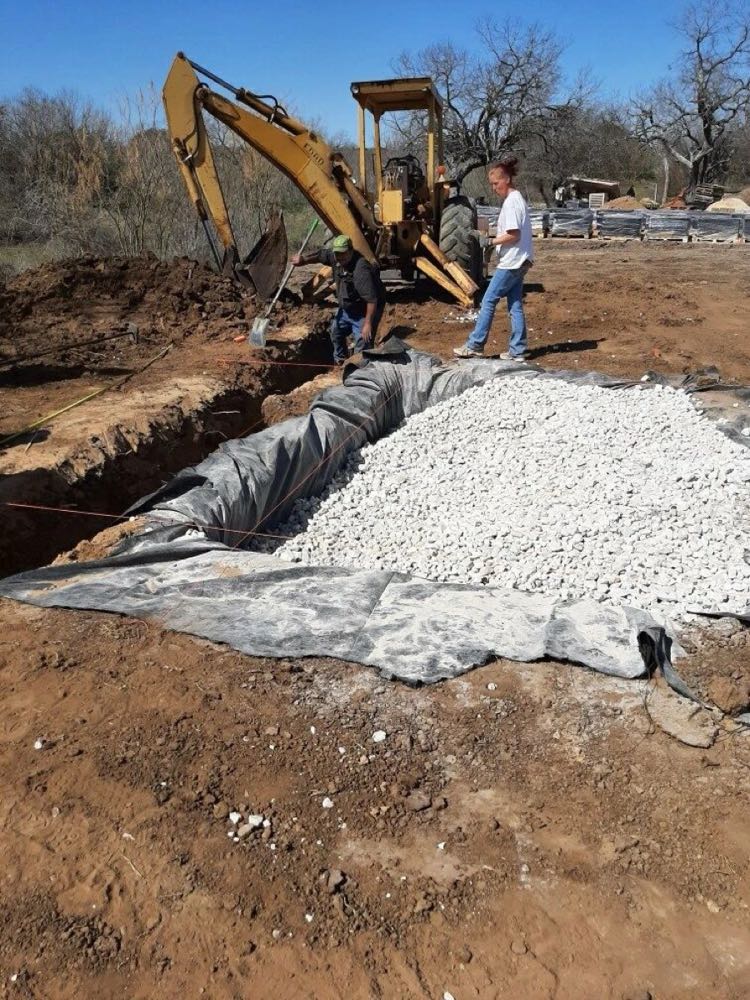
Ahead of the attendees arriving for the 4-day workshop, our crew prepared the foundation by excavating about 30 inches deep, laying in a geo-textile liner, filling in and compacting the 2.5" gravel, and pouring a concrete grade beam that would be cured and ready to go by the time the workshop started.
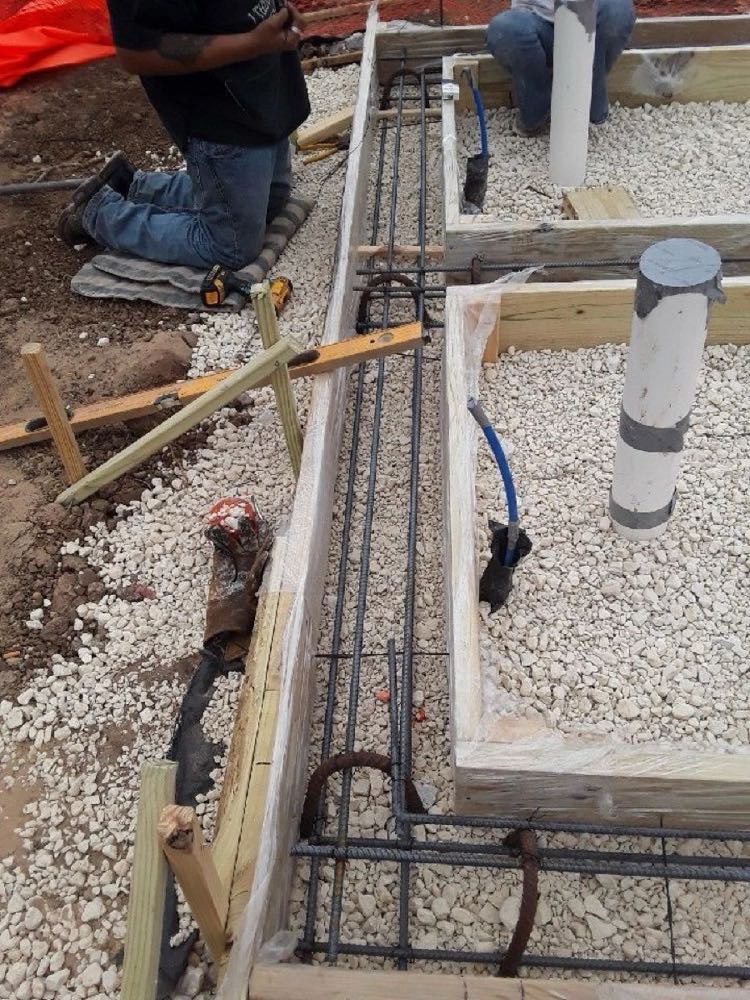
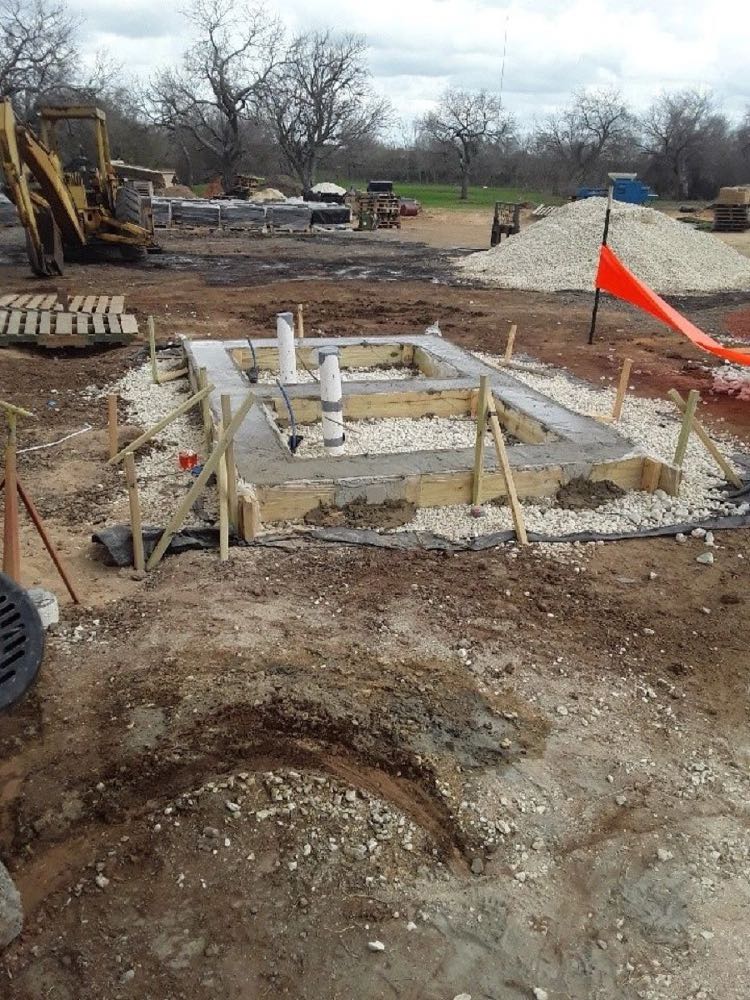
On day one of the workshop, we gave some instruction on soil selection, demonstrated how our CEBs are produced, gave a quick demonstration of the rubble-trench foundation concept, and explained how to set up story poles/level lines. Then is was on to the fun part...laying blocks! Because we used 8% cement stabilized CEBs, we also used 8% cement stabilized slurry (mortar) to join them together.
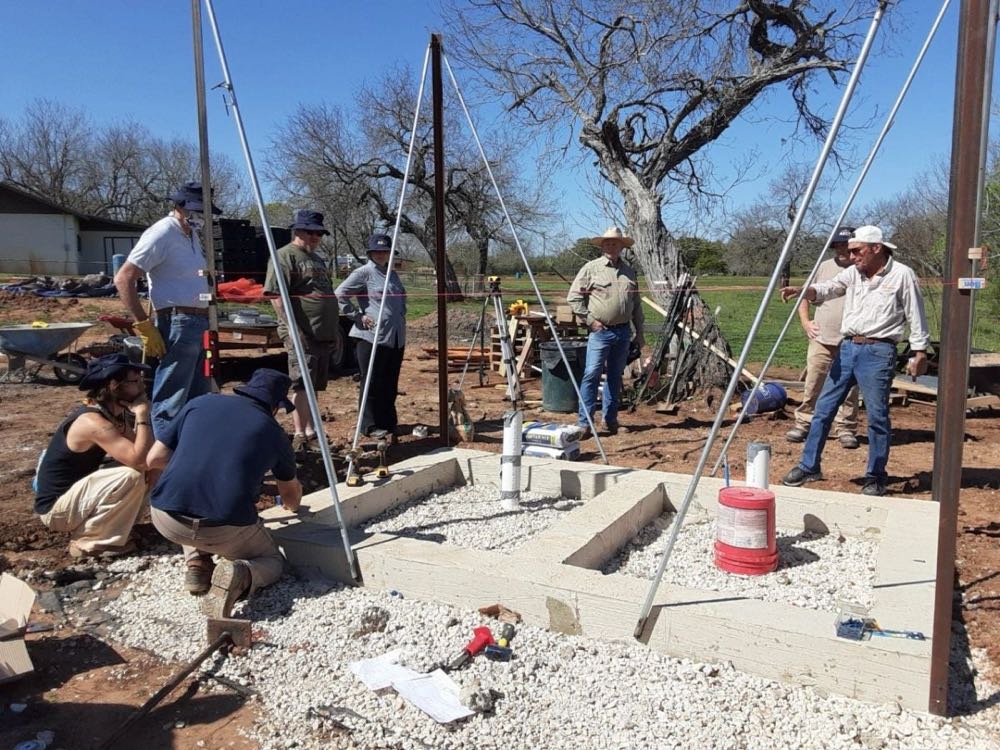
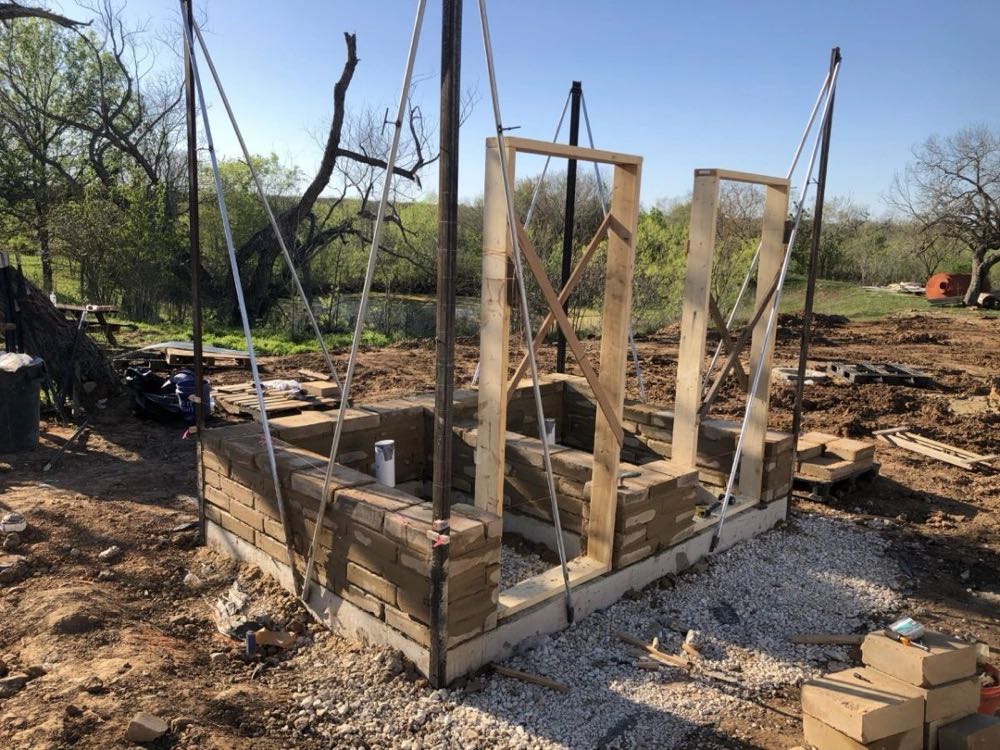
With day two of the workshop came more block laying. We were able to get all the way up to the top of the wall by the end of the day. In all, it only took the amateur crew about 12 hours to lay all 600 blocks into the walls. Along the way, we laid in a beautiful timber lintel over both doorways. The heavy beam was cut from the trunk of a bull mesquite tree that had fallen down on our property the previous year. The beautiful wood grain provided a great compliment to our CEB walls :)
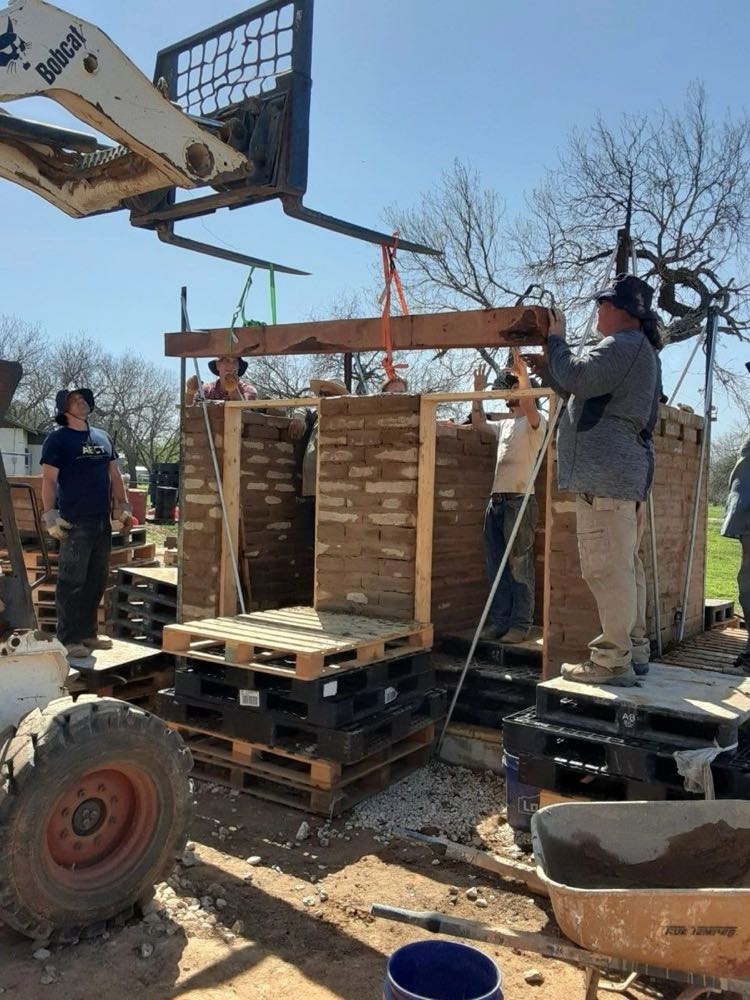
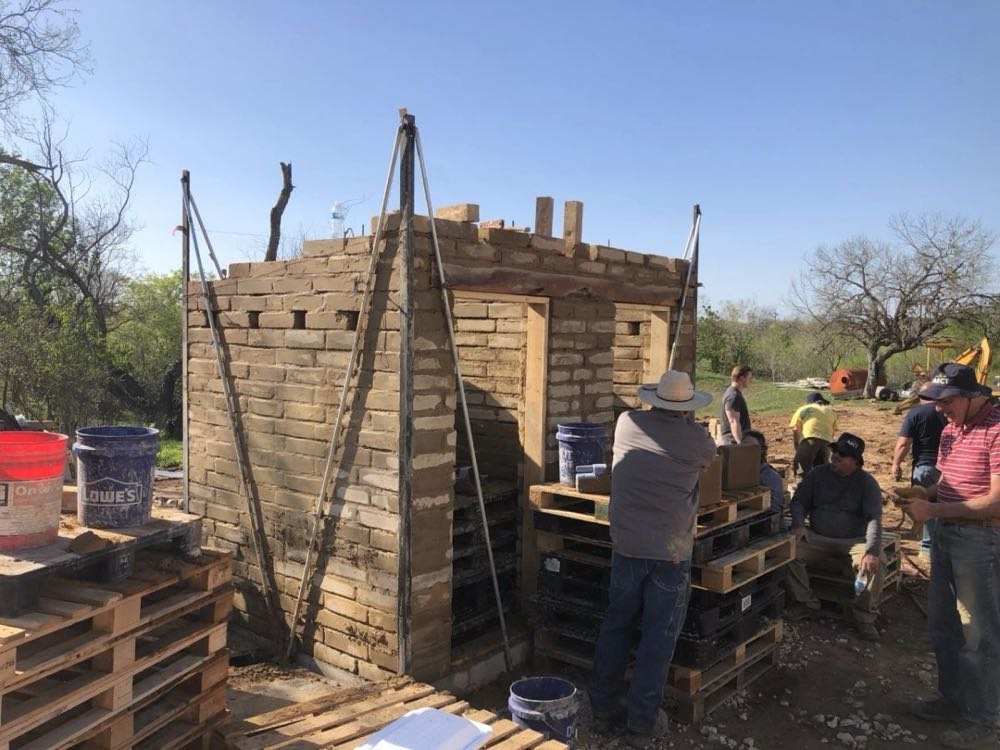
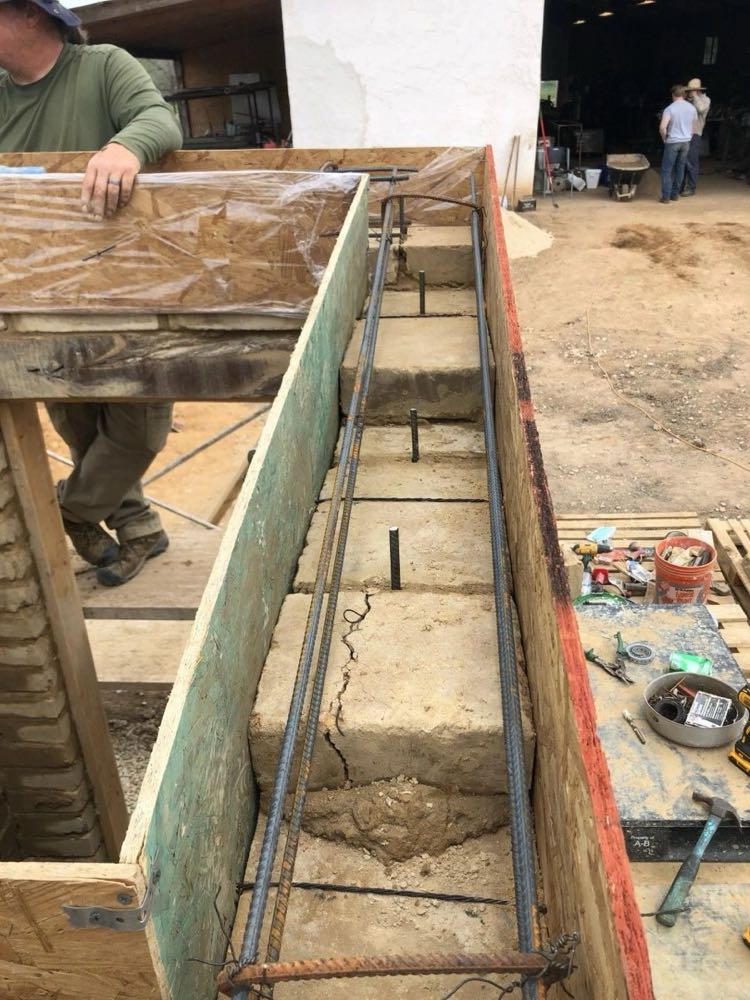
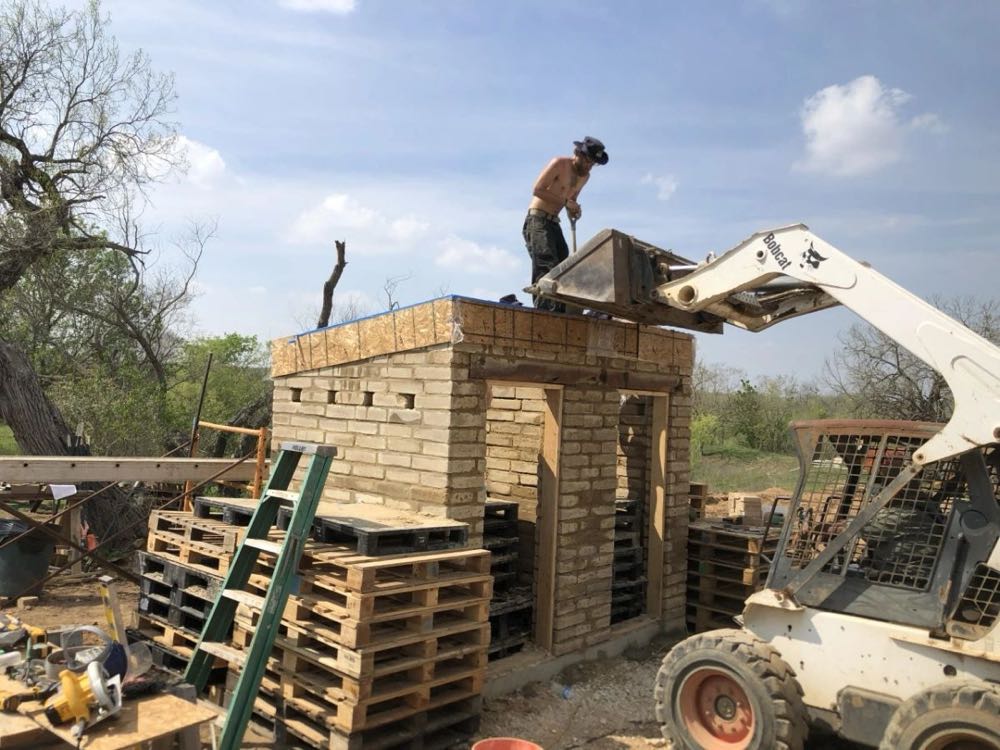
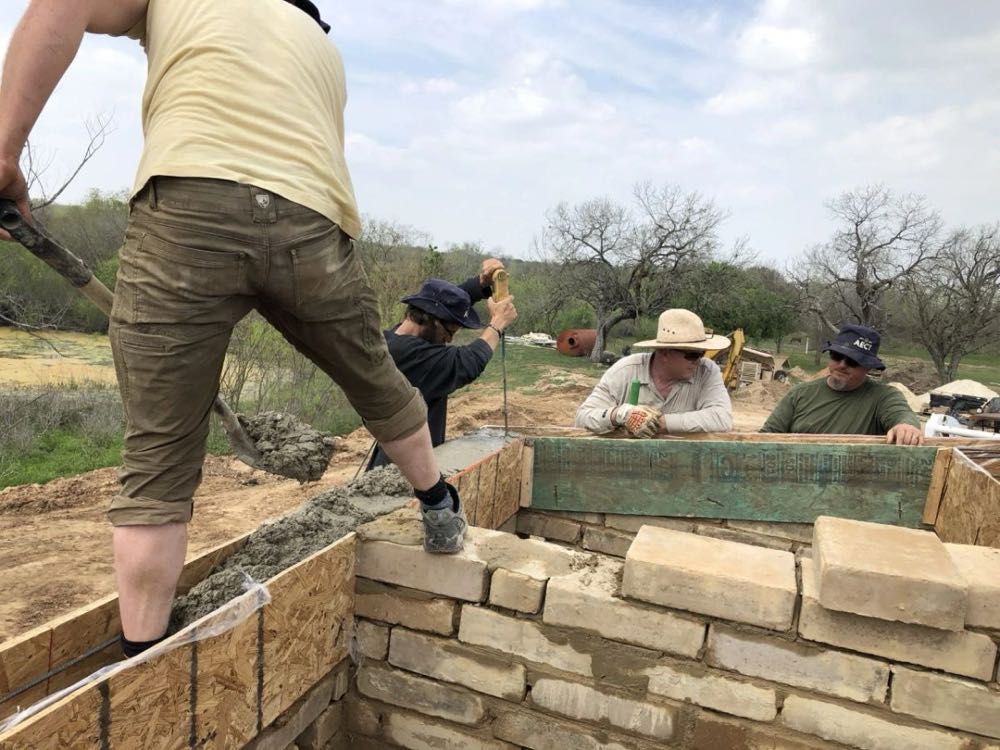
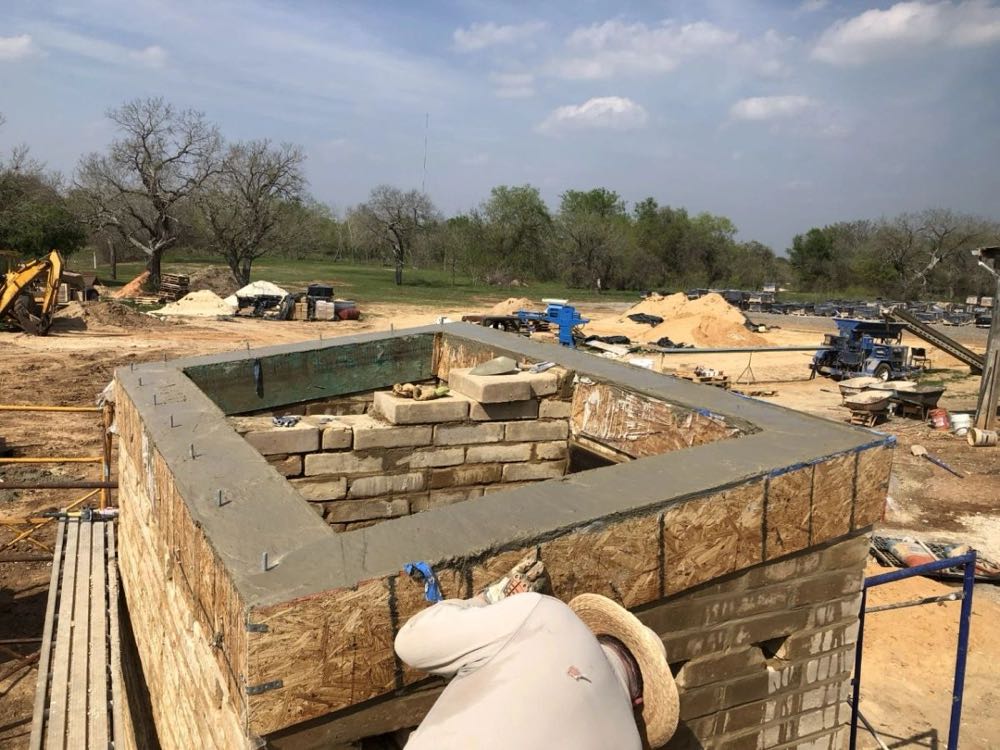
A big part of day three was forming up and pouring our concrete bond beam. We started by driving some #4 rebar into the joints between the CEBs at the top of the wall. Then we began building the 12" wood frames on top of the walls, holding the two sides together with bailing wire then laying in some #4 rebar. Once that was done, we were able to mix the concrete in our skid steer bucket and lift it up to be poured into our forms. Before it dried, we made sure to drop some j-bolts into the concrete...these would later serve as anchors to bolt our roof framing to.
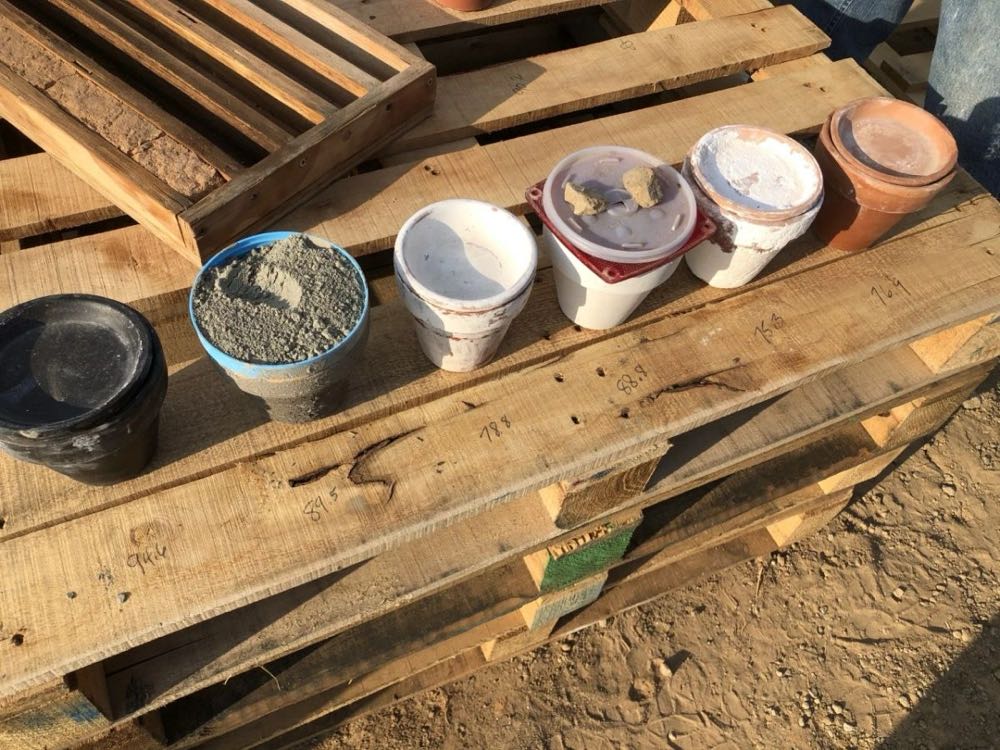
After the bond-beam was complete, next on the agenda was a lesson in wall coverings. To start out, Jim Hallock gave a demonstration on the evaporative cooling benefits of lime plaster by setting up six clay pots with water inside and different coverings (black paint, cement plaster, lime wash, white paint, lime plaster, and naked) on the outside. After a day of sitting out in the sun, the water in the pots with paint on them, as well as in the pot with a cement coating, was completely intact...and the temperature was close to 90 degrees or above. The pots with lime coverings and with no covering at all performed beautifully, with the water mostly evaporating and the temperature inside staying in the 70s. The results got even more drastic after a second day, with the water in the painted pots getting up over 100 degrees and with the pot with the clay plaster staying about 76 degrees and losing almost all of its water. This demonstrated the superior evaporative cooling abilities of a light-colored, breathable covering like lime plaster.
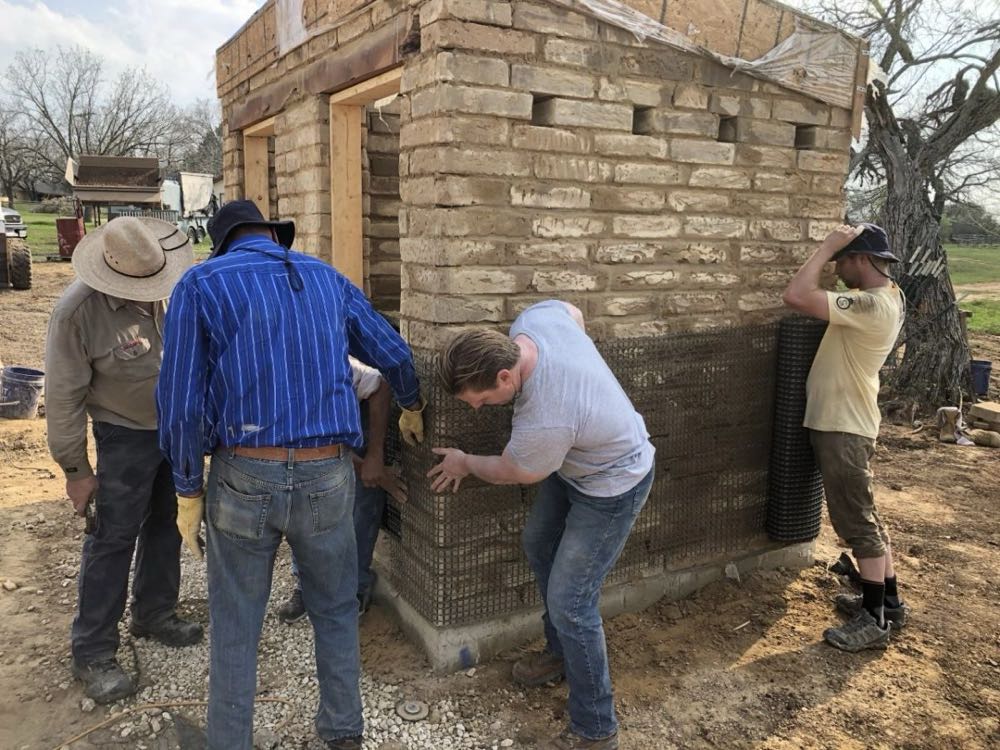
Following this experiment, we got busy preparing material for our first coat of lime plaster on our CEB bathroom. We first slaked the lime, adding water and mixing until we achieved a consistency similar to that of sour cream. We then used a traditional lime recipe of 3 sand to 1 hydrated lime for the first coat, 2 sand to 1 lime for the second coat, and 1 sand to 1 lime for our final coat. To apply the first coat, we nailed a basalt mesh material onto the wall then shot the lime plaster on using compressed air. From there, we troweled the plaster smoothly into place.
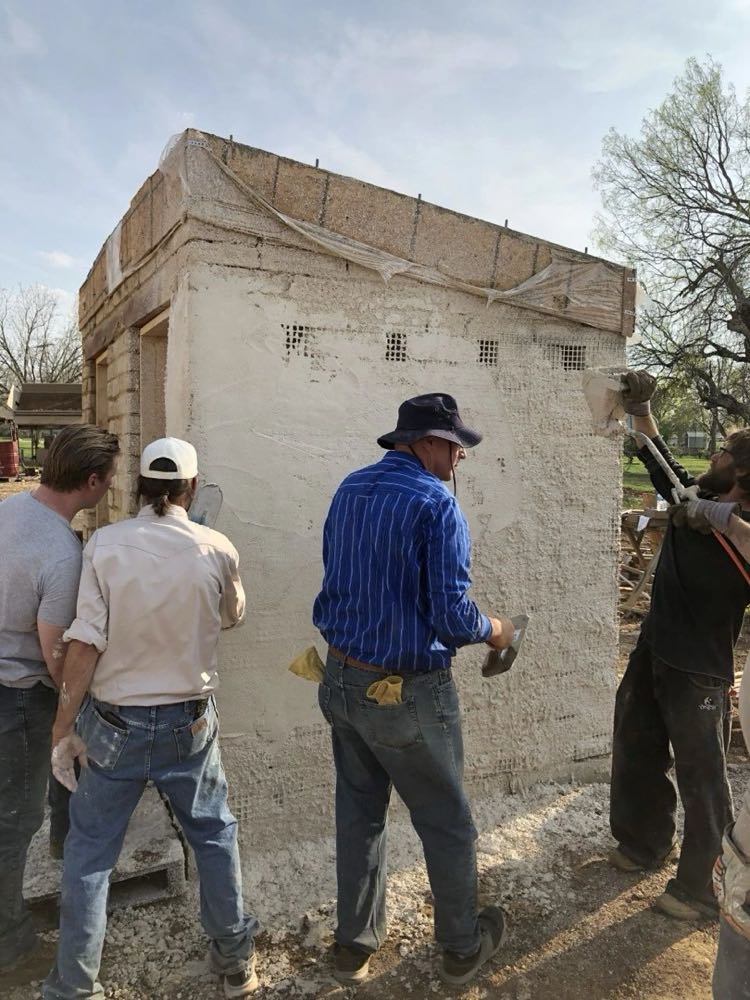
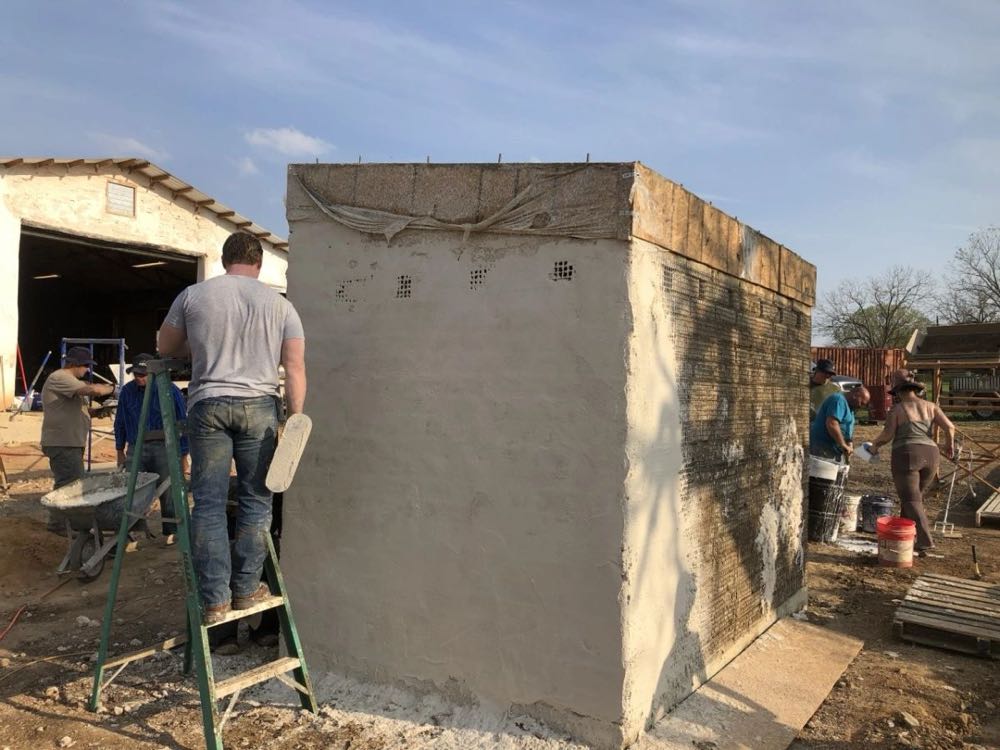
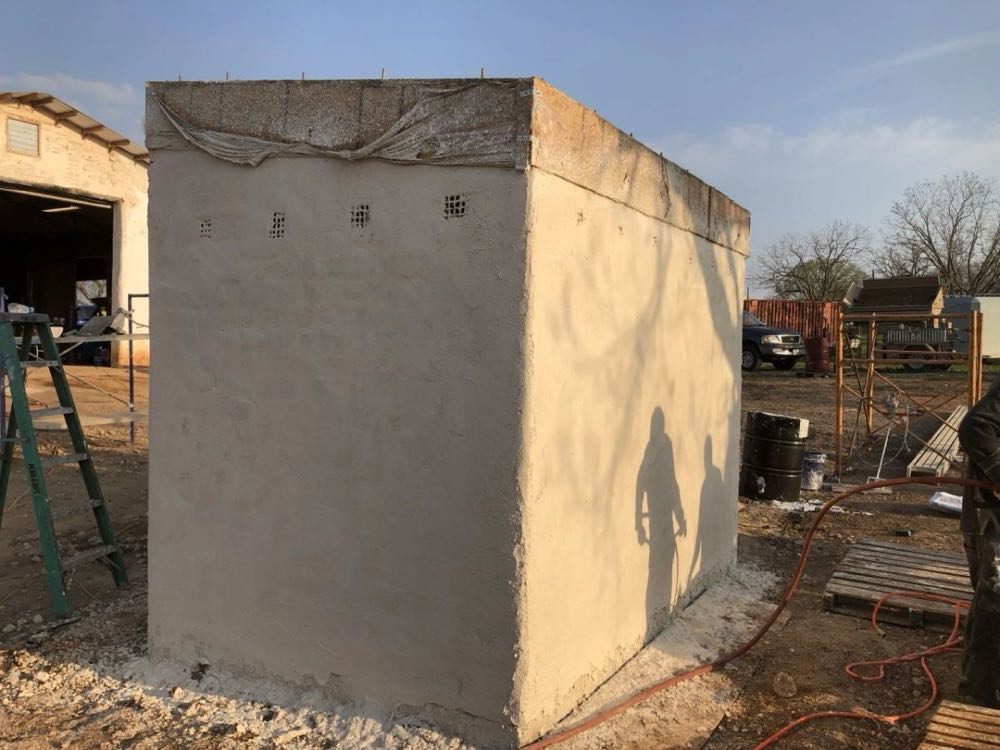
On the fourth and final day of the BABS workshop, we took the wood frames off the bond beam and continued with our second coat of lime plaster. The second coat consists of 2 parts sand and 1 part lime...and is simply troweled on, as opposed to being blown on, as with the first coat. We also had the chance to apply an earthen plaster and some clay coverings to the internal walls. By the end of the 4-day workshop, we had a beautiful CEB bathroom, plastered, and ready for a roof, flooring, and a few other finishing touches.
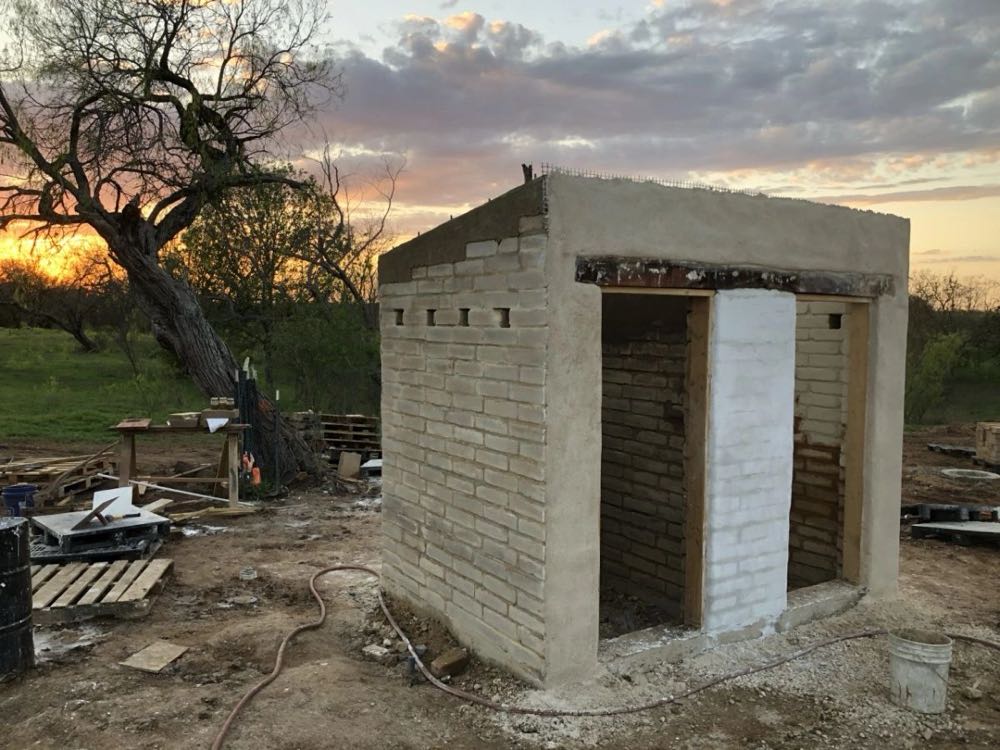
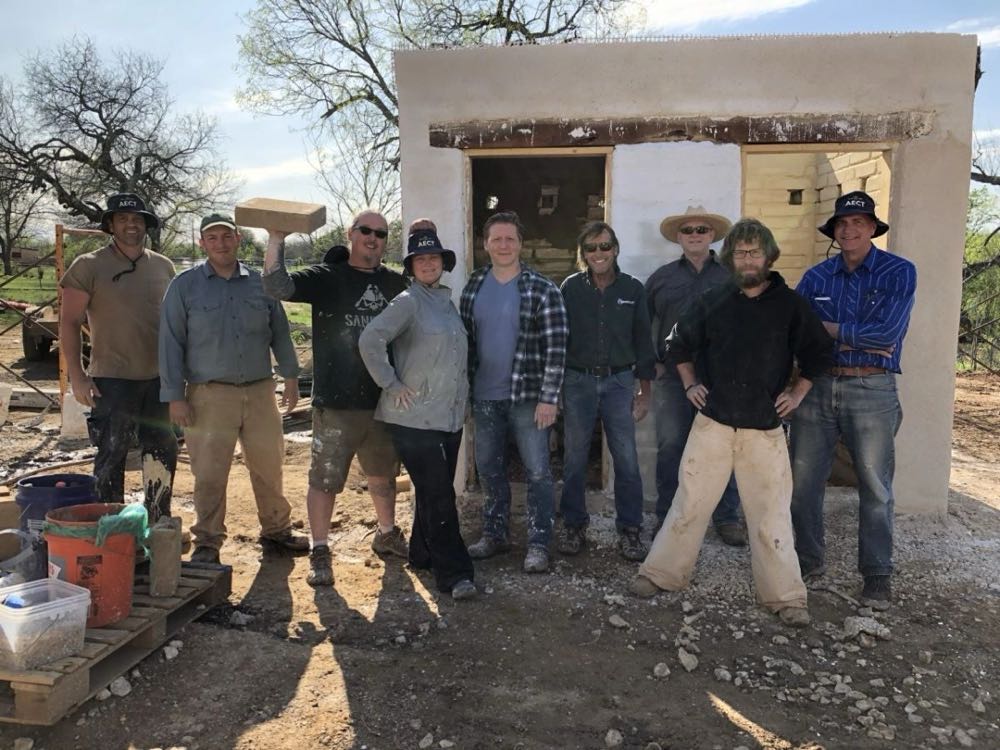
Over the next few weeks, our own AECT crew installed a roof and put the finishing touches on the building, including a final coat (1 sand to 1 lime) of plaster, paint, and the bathroom fixtures. Yours Truly even had a chance to install a CEB floor in one of the stalls.
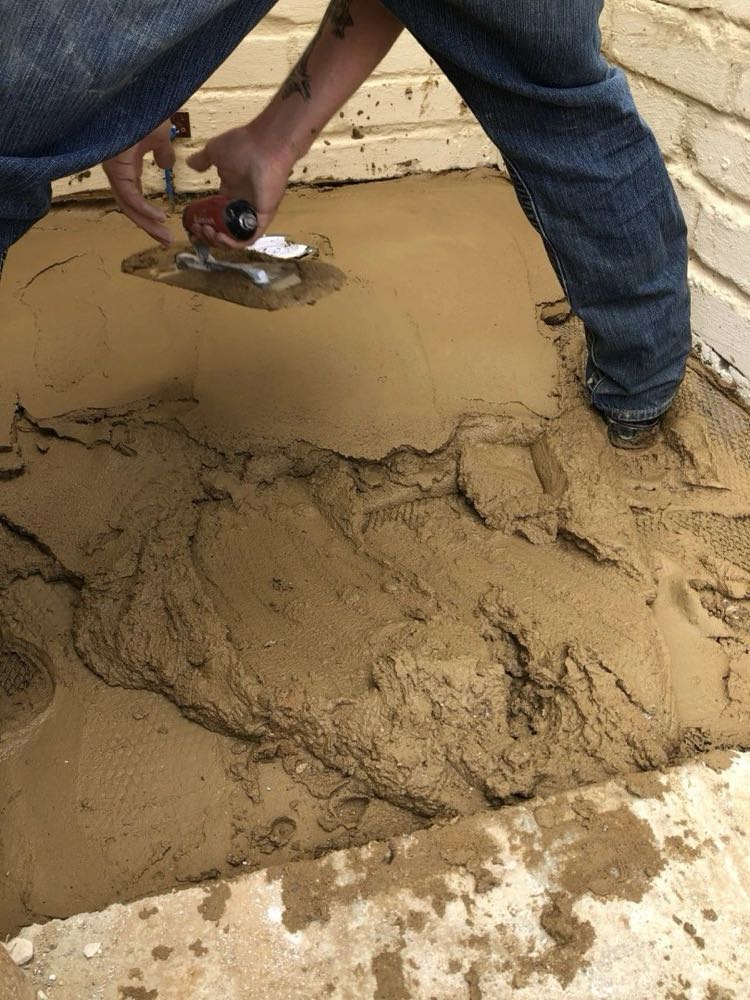
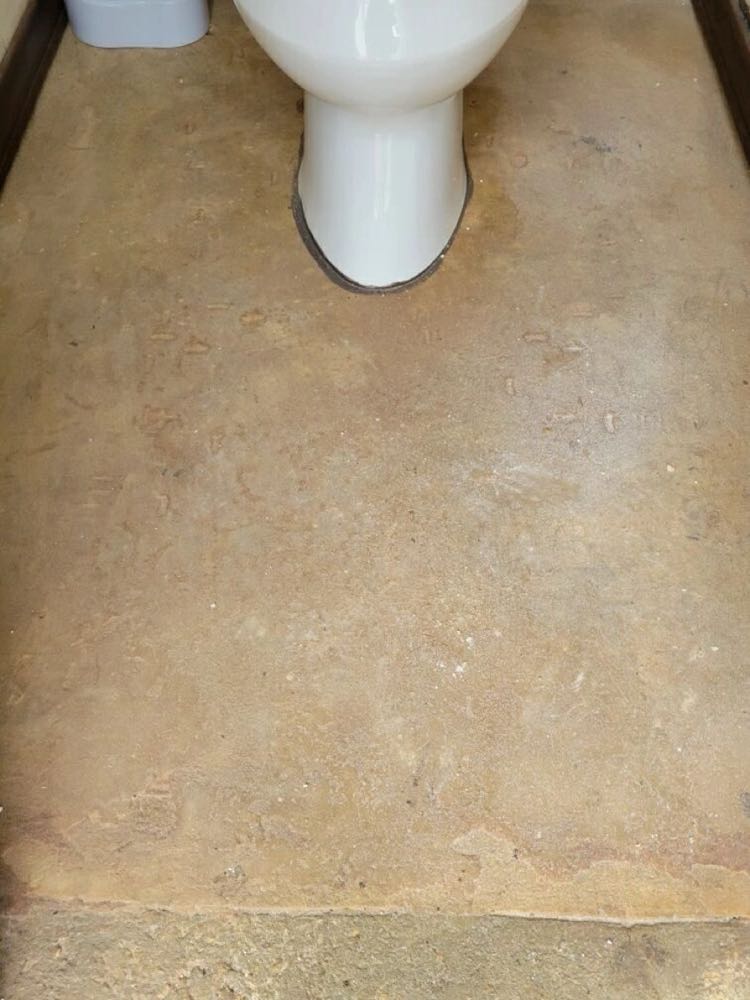
Check out the video below for a demonstration of how our earth block floor was installed.
We love how our new CEB bathroom turned out, and although it was hard to say goodbye to the port-o-potty we had grown so attached to over the years, we all agreed it was time to turn the page on that chapter of our lives and move on to something better ;)
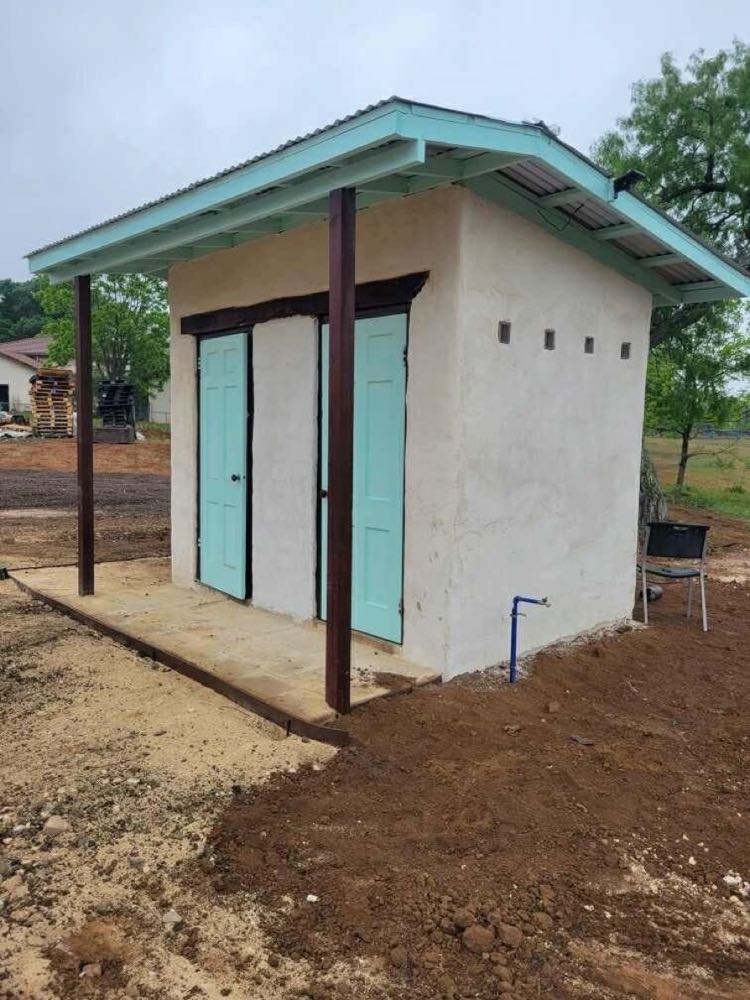
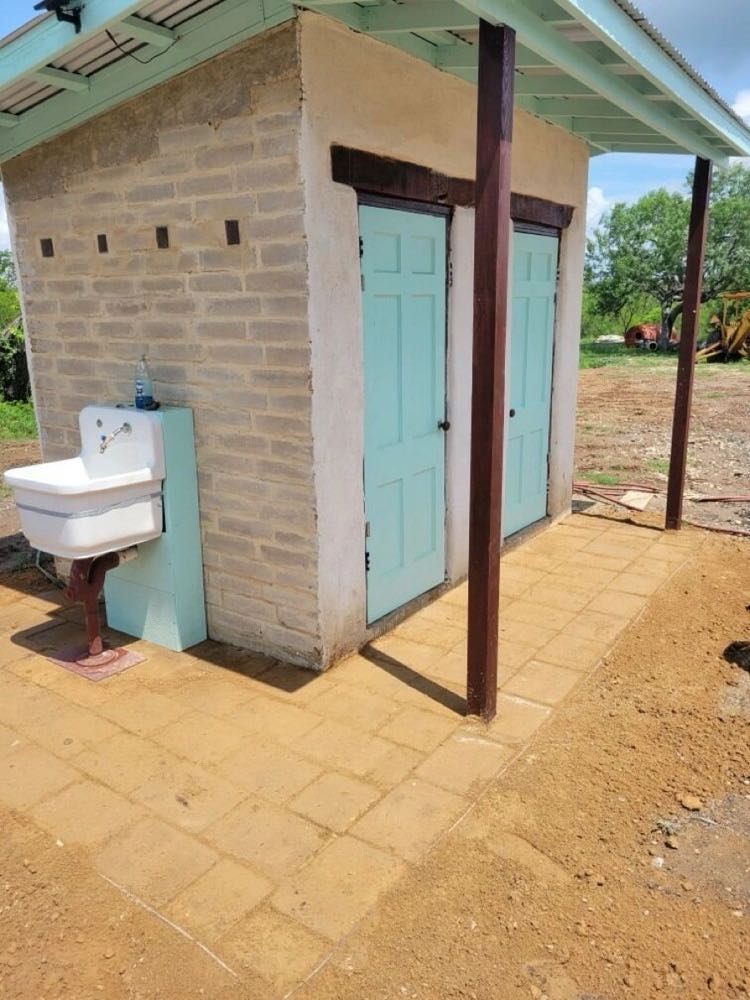
We had a great time at this workshop and believe everyone involved got a lot out of it. We enjoyed working along side our new friends and can't wait to do our next build!
Check out the video below to see a summary of our CEB bathroom build from start to finish.
As always, thank you for your interest in AECT. Check out our website for additional information on building with compressed earth blocks :) www.AECTearthblock.com
Sincerely,
Ryan Runge
President
AECT